
Roofing a House in the Denver Metro
Roofing a house sounds simple from the ground: tear off the old stuff, nail down the new stuff. In practice it's a sequence of steps that each protect the ones that come after, and skipping one usually doesn't show up as a problem until a few years later when water finds a way in. Front Range weather makes the stakes higher than in milder climates. Hail, heavy snow load, and intense UV exposure all put real wear on a roof system, so the installation has to account for more than just looks.
This guide walks through what actually happens during a roof install, from the deck up to the final vent, and what each layer is doing for the roof. It's written for homeowners trying to understand a quote, plan a project, or decide whether a job is something to tackle themselves or hand to a licensed crew. Either way, knowing what goes into a roof makes it a lot easier to judge whether the work in front of you was done right.
Why Does a Roof Get Installed in This Order?
A roof is a layered system, and each layer depends on the one beneath it being solid and dry. That's why the process always starts with removing the old covering and inspecting the deck, then builds back up through underlayment, flashing, and finally the visible covering material. Changing that order, or skipping a layer to save time, is how roofs end up leaking well before they should.
The Deck and Underlayment
The deck is the plywood or OSB sheathing nailed to the rafters, and it's the structural base everything else sits on. If the deck has soft spots, delamination, or rot from a prior leak, those sections get replaced before anything new goes down, because covering a bad deck just hides the problem instead of fixing it. This is also the point where a crew can see daylight through gaps, check for proper nailing patterns, and confirm the ventilation baffles are clear.
Underlayment is the water-resistant barrier that goes over the deck before the final covering. It's a roof's backup line of defense, catching moisture that gets past the shingles, metal panels, or tile, whether from wind-driven rain or ice buildup along the eaves. In Colorado, underlayment choice and placement around the eaves matters more than in warmer climates because of freeze-thaw cycling through the winter months.
The Covering and Flashing
The covering is the material you actually see, whether that's shingle, metal, tile, or a flat system, and it's installed in overlapping rows working from the eave up to the ridge so water always sheds downward over the layer below it. Each material has its own fastening pattern and exposure rules, and getting those wrong is one of the most common causes of wind damage and premature wear.
Flashing is the metal installed at every point where the roof plane changes or meets something else: valleys, chimneys, skylights, vent pipes, and wall intersections. These spots are where the vast majority of leaks start, because they're the places water has to be redirected rather than just shed. Properly bent and sealed flashing is as important to a roof's performance as the covering material itself.
| System | What Shapes the Install | Best Suited For |
|---|---|---|
| Asphalt shingle | Fastening pattern, exposure line, and flashing detail at penetrations | Most residential homes, wide range of budgets |
| Metal (standing seam or screw-down) | Panel layout, seam type, and thermal expansion allowances | Steep pitches and homes wanting a longer-lived covering |
| Tile | Weight on the structure, batten spacing, and underlayment durability | Homes built or designed to carry tile's added weight |
| Flat (TPO, EPDM, modified bitumen) | Seam welding or adhesion and proper drainage slope | Low-slope residential additions and commercial buildings |
What's Actually Up There: The Anatomy of a Roof System
From the attic looking up, a finished roof is made of the rafters or trusses, the deck nailed across them, underlayment over the deck, flashing at every transition, the covering material on top, and ridge or box vents letting hot air escape. Each piece has one job, and the system only works when all of them are doing it together. A roof that looks fine from the street can still have a failing layer underneath that only shows up as a stain on the ceiling months later.
Ventilation is the piece people overlook most. Intake vents at the eaves and exhaust vents at the ridge keep air moving through the attic, which controls temperature and moisture. Without it, heat and humidity build up under the deck, which shortens the covering material's life and can lead to ice damming along the eaves in winter. It's a small, inexpensive detail that has an outsized effect on how long a roof lasts.
Step-by-Step: How a Roof Gets Installed
The sequence below is the general order for a shingle, metal, or tile roof replacement. Flat systems vary somewhat since they're built with seams and slope rather than overlapping courses, but the logic of working from the structure outward stays the same.
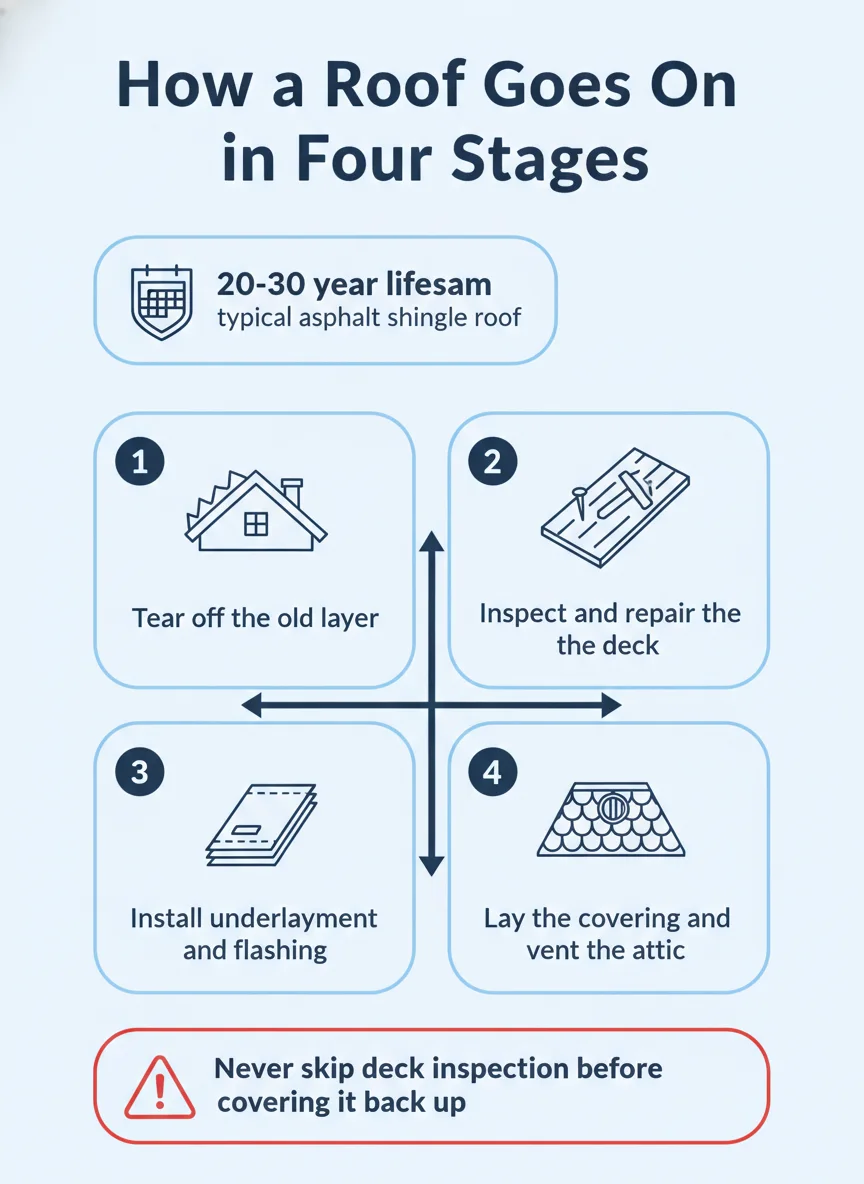
- Tear off the old roof: The existing covering, underlayment, and any damaged flashing come off down to the deck so the crew can see what they're actually working with.
- Inspect and repair the deck: Soft, rotted, or delaminated sections of sheathing get replaced before anything new is installed over them.
- Install drip edge and underlayment: Metal drip edge goes along the eaves and rakes, then underlayment rolls out across the full deck for the water-resistant layer underneath.
- Flash all penetrations and transitions: Valleys, chimneys, skylights, vent pipes, and wall intersections get flashed to direct water away from the gaps in the covering.
- Install the covering material: Shingles, metal panels, or tile go on in overlapping courses from the eave to the ridge, following the fastening pattern for that material.
- Set ridge venting: Exhaust vents go in along the ridge to pair with intake vents at the eaves, keeping air moving through the attic space.
- Clean up and final check: Nails and debris get cleared from the yard and gutters, and the finished roof gets a last look for anything missed before the crew leaves.
What You'll Find Once Work Begins
Signs of Deck Damage
Once the old covering comes off, deck problems become obvious fast. Dark staining, soft or spongy sections underfoot, and visible light coming through small gaps all point to moisture that got past the old roof over time. These spots have to be cut out and replaced with new sheathing before underlayment goes down, because covering rot just buries the problem until it spreads further.
Nail pops and warped sheathing are more common in older homes where the original deck has been through several roofing cycles. A crew checking the deck will also look at the spacing between boards or sheets, since gaps that are too wide can cause the new covering to flex and fail at the fastener lines over time.
Signs the Old Roof Was Underventilated
Underventilated attics usually show up as scorched or discolored sheathing on the underside, or shingles that curled and failed years before their expected lifespan. Both point to heat and moisture that had nowhere to go, which slowly cooks the materials from underneath rather than from sun exposure on top.
Mold or mildew staining in the attic, especially near the ridge, is another sign the old system wasn't moving air the way it should have. Fixing this during a replacement is straightforward since the ridge and eaves are already exposed, but it's much harder and more expensive to correct after the fact.
DIY vs Calling a Pro
Small, low-slope repairs like replacing a handful of damaged shingles or resealing a single vent boot are within reach for a homeowner comfortable on a ladder and careful about safety. The materials are inexpensive and the margin for error on a small patch is forgiving compared to a full system.
A full roof replacement is a different undertaking. It involves structural judgment calls about deck condition, code-compliant flashing and ventilation, and working safely at height across an entire roof plane, often for multiple days. Most jurisdictions also require a permit for a full replacement, and some require the work to be done or signed off by a licensed contractor.
The honest dividing line is scale and risk. If a mistake means replacing a single shingle, it's a reasonable DIY project. If a mistake means a hidden leak that rots a deck over a winter, it's worth the cost of a licensed crew who can catch that problem before it's covered up. A free roof inspection is a low-cost way to find out which category your project falls into before you decide.
Getting It Done Right the First Time
Understanding the order of a roof install, from deck inspection through flashing and ventilation, makes it much easier to judge whether a quote or a finished job is actually solid. Materials matter, but the sequence and attention to the details underneath the surface are what determine how long a roof actually lasts. If you want a deeper look at what shortens or extends that lifespan once the roof is on, this breakdown of what affects roof lifespan in Colorado covers it in more detail.
Whether you're planning a full roof replacement in Denver or anywhere else across the Front Range, knowing what's supposed to happen at each stage gives you a real basis for comparing bids and judging the finished work. Precise Roofing has been installing and inspecting roofs across the Denver Metro for over 20 years, and walks every homeowner through each step along the way.
Frequently asked questions
Can I roof my own house?
A homeowner with carpentry experience can sometimes handle a small, simple roof, but most jurisdictions require a permit and some require a licensed contractor for anything beyond minor repair. The bigger risk isn't the labor, it's missing a deck problem or a code requirement that shows up later as a leak or a failed inspection.
What is the correct order of roofing a house?
The order runs tear-off, deck inspection and repair, underlayment, flashing at penetrations and edges, then the final covering material, followed by ridge venting. Skipping or reordering these steps is one of the most common causes of early leaks.
Do you need to remove the old roof before installing a new one?
In most cases, yes, because a tear-off lets the crew inspect and repair the deck underneath, which you can't do with the old layer still in place. A roof laid over a damaged or rotted deck will fail well before its expected lifespan.
How long does it take to roof an average house?
A straightforward single-family roof typically takes one to a few days depending on size, pitch, material, and weather, with steeper or more complex roofs taking longer. Material choice matters too, since metal and tile install differently than asphalt shingles.
What tools do you need to roof a house?
At minimum you need safety equipment (harness and rope), a pry bar for tear-off, a nail gun or hammer, a utility knife, chalk line, and a magnetic sweeper to clear loose nails from the yard. A licensed crew also carries flashing tools and equipment for cutting metal and tile that most homeowners don't own.